It’s almost a right of passage for Canadian homeowners: Taking at least one run at building a backyard ice rink.
But creating that perfect sheet for friends and family to enjoy often proves to be much tougher than it seems. There are so many variables that need to be considered — water usage, outside temperature, ground slope and the drainage implications on neighbouring properties. So InnisfilToday went to the ice-making experts responsible for maintaining the Town of Innisfil’s parks and outdoor recreation spaces for some tips on constructing a great outside pad.
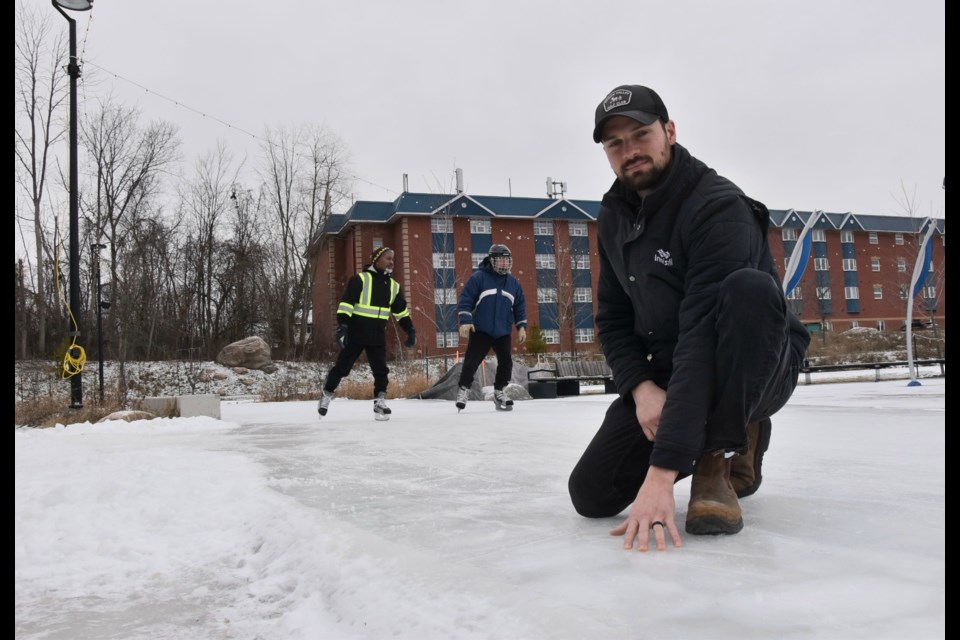
“We know that skating and hockey are enjoyable winter activities and whether you use one of the town’s outdoor facilities or build your own rink, please do so safely and responsibly,” parks and community spaces operations manager Chris Trevisan said. “For people wanting to build their own backyard rink, the town has a tip sheet ... with useful information such as how to build a base, how to flood and maintain the rink and how to manage ongoing repairs.”
So where to start? First off, wear proper safety gear such as boots, glasses, gloves, ice cleats and a helmet. Then when building the base, pack snow firmly and evenly throughout the rink. A sturdy base requires at least five centimetres of firmly packed snow. Unpacked will result in soft, lumpy ice, collapsing sections and rapid melting during warm spells.
If extra snow is available, use it to create a wall around the perimeter of the rink. Seal any gaps to prevent water from escaping.
However, if snow has not accumulated, wait until frost is into the ground at least five centimetres, and be sure the weather will remain below -4 C for several days before attempting to complete the first flood. This typically requires seven to 10 consecutive days of -10 C temperatures or lower.
Scrape and clean snow, ice chips, lumps, flakes and dirt before flooding, and remove these from the surface. The cleaner the surface, the smoother the ice will be.
Attach a nozzle to the end of the hose, then start flooding at the furthest point from the water supply, moving across the rink and applying light fogs or spraying over the entire surface until wet. Never direct the force of the water downward at the ice. Instead, spray up and outward.
Make sure that each layer is frozen before flooding again. More floods help sustain ice during mild periods.
Once you're done, drain the hose and store it properly to prevent it from freezing.
Large amounts of water will draw frost out of the ground. This causes the water to soak into the ground, which could lead to delays in building up the ice surface. If it takes more than 15 minutes to freeze, you have put too much water on, so reduce the amount during the next flood.
On extremely cold nights, avoid flooding a good ice surface because the warm water could cause cracks.
You can repair shell ice (an air pocket just under the surface), cracks, chips and holes by cleaning them out and filling with a snow and water “slush” mixture. Level the slush with a shovel, then sprinkle it lightly with water and block off the area until the patch freezes.
Never flood a rink when the temperature is above -4 C, because the water will not freeze quickly enough to create an effective surface. And during either prolonged mild spells or the end of the season, make sure any run-off is draining into an appropriate location.

.jpg;w=120;h=80;mode=crop)
